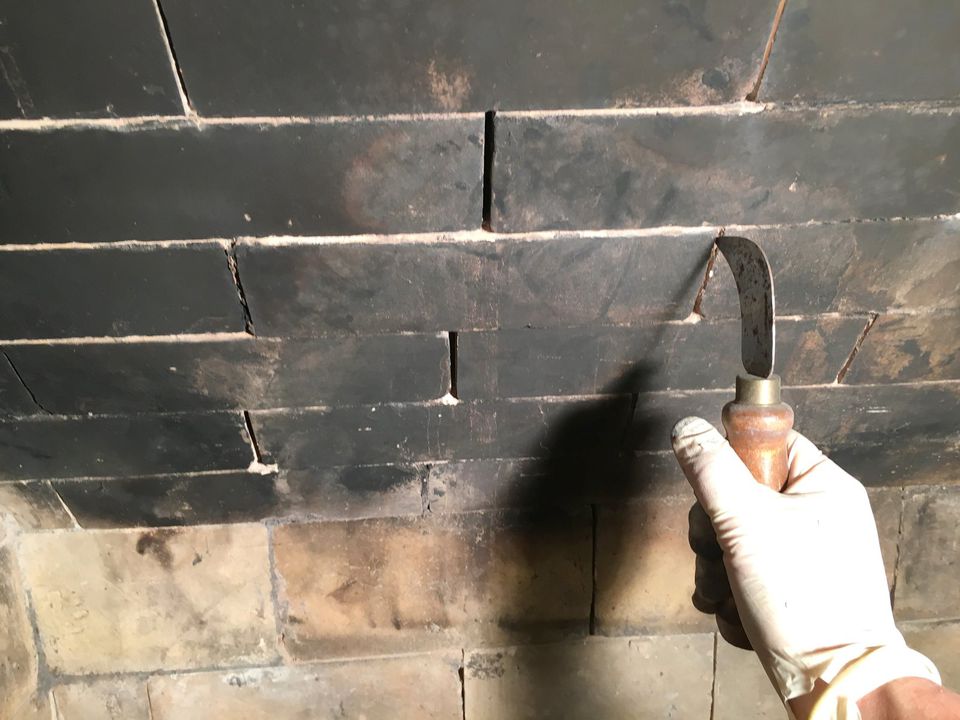
 Over the time, cracks may appear in your wall, floor, around windows or doors, or even joints between masonry elements. Once a crack appears, you need to seal it immediately to prevent it from getting wider and to save energy on your heating or cooling system. Covering a crack is in fact simple. You just need to fill it with mixture of cement or drywall mud. You can also buy concrete in a caulk tube. However, for the cracks that are exposed directly to fire or flame, you need fireproof caulk to seal it. Nevertheless, some cracks are wide, so you may need fireproof caulk backer/rod to fill the gap first before applying the fireproof caulk.
The Fireproof Caulk
Here are 6 easy to follow steps in implementing fireproof caulk backer into the cracks around your masonry or chimney.
- The first thing to do in sealing back a crack is making sure that the crack is free from dust and dirt using a fine brush. Dust and dirt may make the caulk to fall off easily.
- After you clean the crack, check the width and the length of the crack. If the crack is narrow, you may just apply fireproof caulk or a mixture of furnace cement into the cracks.
- If the gap is wider (more than ¼”), you may want to save the fireproof caulk by pushing a fireproof caulk backer or sometimes called firestopping backer rod (a fireproof backer/rod made of rock wool sheathed with flexible glass wires) into the cracks first before applying the fireproof caulk. In stuffing a fireproof caulk backer, you need to make sure that the gap is fully closed by the backer rod. There are fireproof caulk backers available at building supply stores inseveral joint widths and various diameters. You can just choose to find the one with the right diameter that fit the cracks the best.Keep in mind that you need the fireproof backer for area around the chimney and masonry, not a usual foam type of backer.
- After stuffing the crack with fireproof caulk backer, you need to apply the fireproof caulk into the crack. Or if you don’t have fireproof caulk at your house, you can just use a mixture of furnace cement or drywall mud.
- Usea spatula, a small putty knife, or painter’s tool to help you stuff the caulk into the crack and to spread it even. Make sure that the fireproof caulk covers all the gaps in the cracks, so the cool air cannot go through them.
- Let the fireproof caulk cure for 24 hours. After it gets fully dried and harden, check any uneven parts, shrinking, or holes on it. You may need to repeat the process by reapplying another coat of the fireproof caulk on it and even it out using a tool once again.
